Deployment made Easy with Cyclic
Build and Deploy your Node.js project with Cyclic
All things are difficult before they are easy

Developers go through the deployment process of pushing our project from local development to production for humans on the internet to interact with. We go through the checklist of setting up gits, tests, hiding our API keys, probably making sure to follow the 12-factor app deployment but what if the process could be easier.
In this tutorial, I will show you how to use Cyclic to continuously deploy a Node.js application.
What is Cyclic?
Cyclic works by integrating with your GitHub repos. It will build and deploy your code on every merge or push to your default branch.
In using Cyclic, we remove the need to handle the deployment process of our node project which can save a lot of time and money.
A walkthrough of Deploying a Node Project with Cyclic.
The application we want to deploy with Cyclic is a simple and secure Node.js project that renders a webpage.
Setting Up
Before we get started, you will want to create a folder for the project. Open up your terminal in the project folder and clone a ready-made Nodejs application. Run:
git clone https://github.com/Technical-Writing-Freelance/psychic-chat
There is more than one branch on this project because I use it as a project for writing articles so I recommend you confirm if you are in the starter branch. Run:
git branch -a
The starter branch should be asterisked and highlighted green on the terminal.

If you are not in the starter branch I suggest you switch to this branch as this comes with packages for running a NodeJs application.
Now we install the necessary packages using the node package manager [I recommend using NPM package manager as this is the only package manager currently supported on cyclic]. Run:
npm install
A package. lock file and node_modules folder should be in your root project directory. Let's start the development server.
Run:
npm start
Now you can view the page by going to your localhost address. My address is localhost:5000. Check for yours on the terminal then go to that URL. The page below should be displayed when you run the local development server.

Preparing your Node.js project for deployment
In your project terminal add the files for commit
git add .
Commit the files
git commit -m " your commit message"
Move the files to the main branch.
git branch -M starter main
Create a remote repository on GitHub
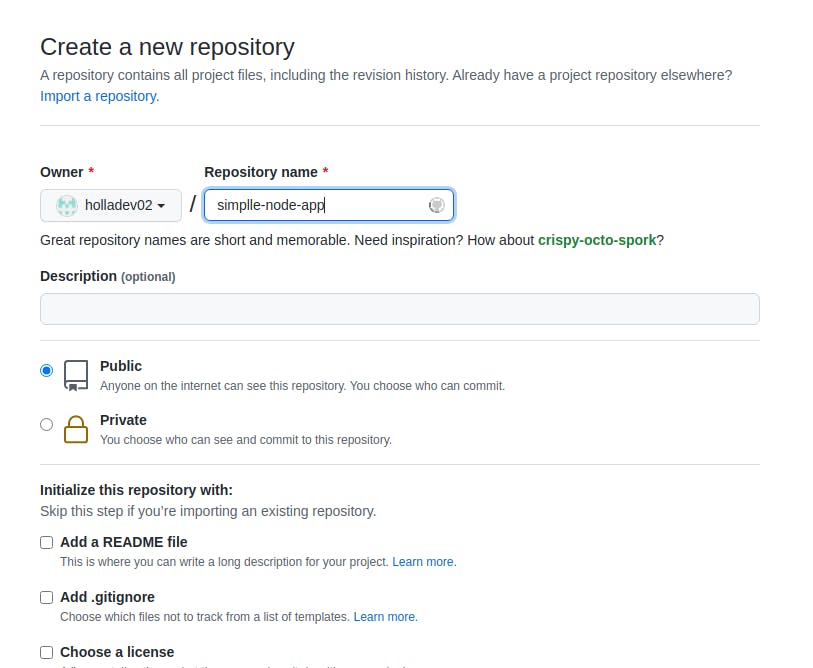
Add remote repository to your project( in my case it is github.com/holladev02/simple-node-app)
git add remote origin <repo link>
Push to this remote repository
git push origin main
Configure Cyclic into your Node.js project
Now we are ready to deploy with cyclic. To do this you need to have an account with cyclic. If you don't have one you can sign up for a free account.
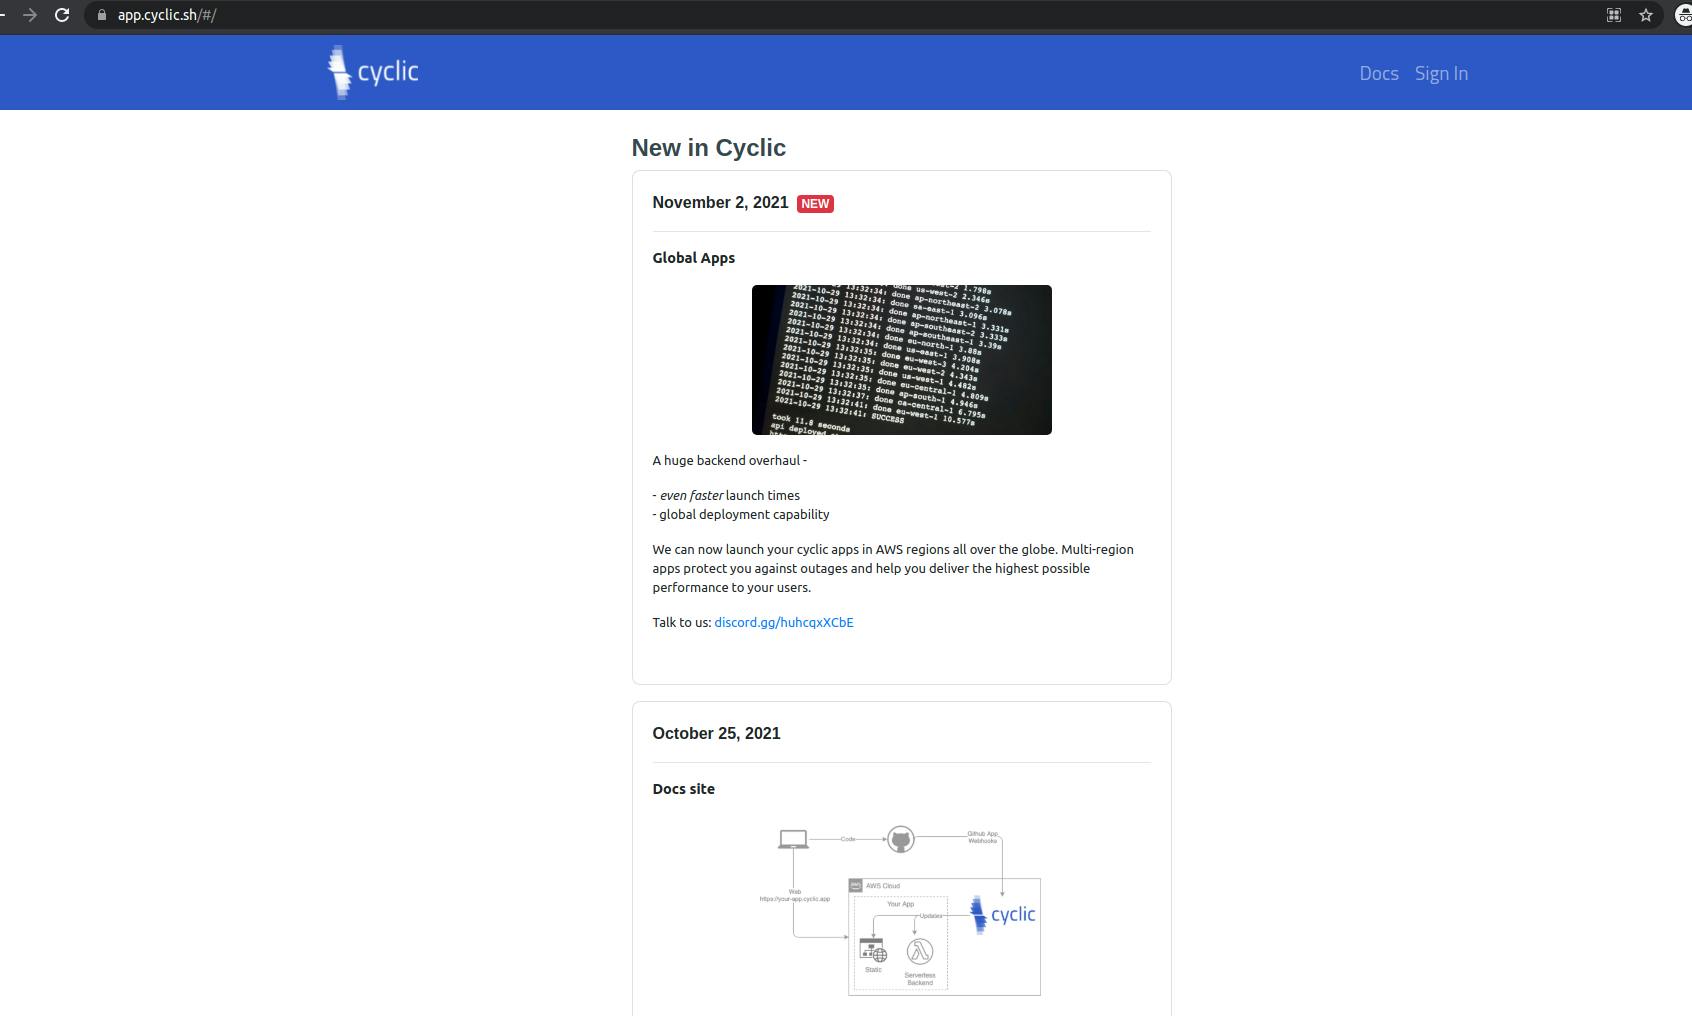
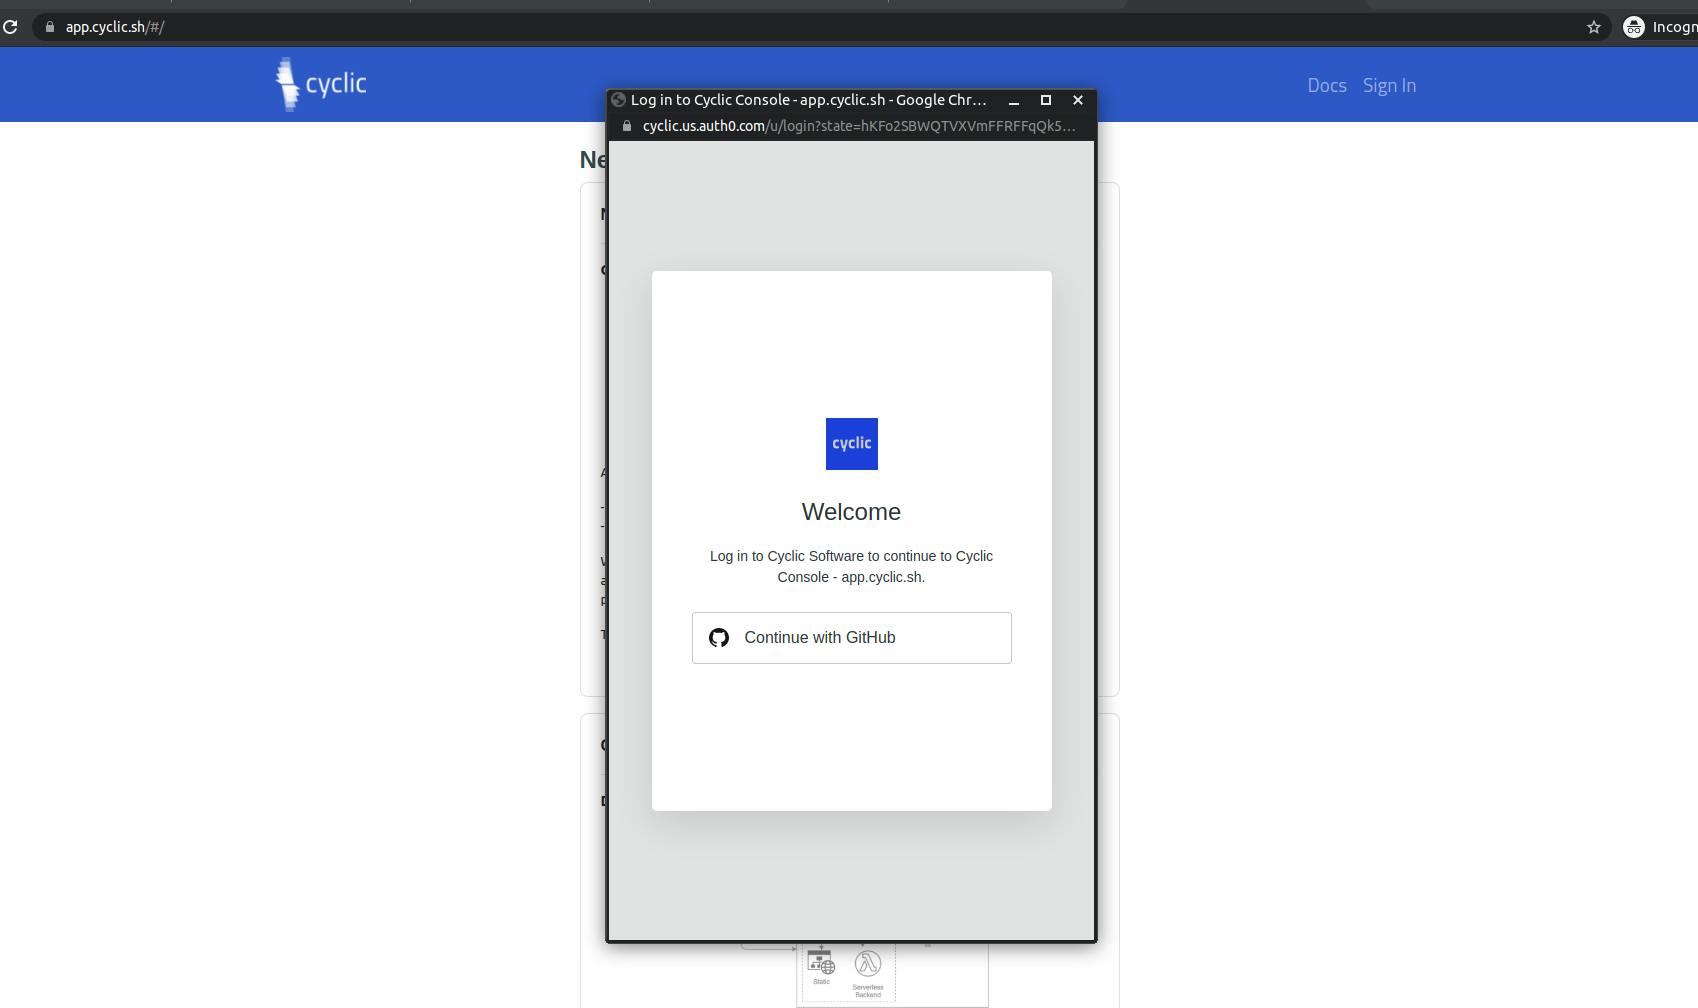
The authentication process on cyclic uses only GitHub authentication for authenticating users allowing cyclic to connect to your GitHub account to keep your account safe and have access to GitHub repositories that you want to deploy.
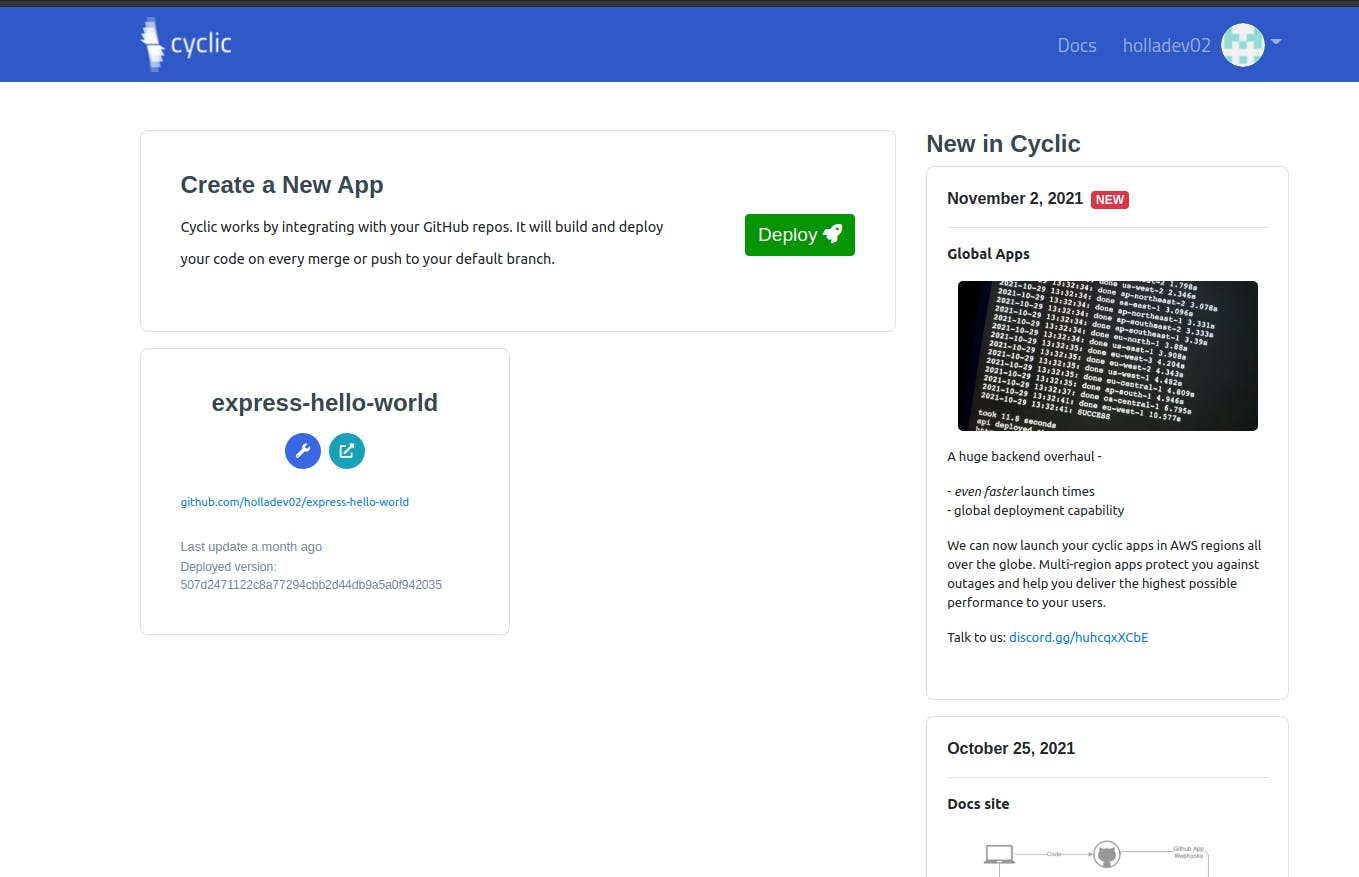
Once you are signed in, you are welcomed into the cyclic dashboard. In the first modal box click on "deploy".
You should be able to search for public repositories in your GitHub account. Click on the repository name of your node project to initialize the deployment process.
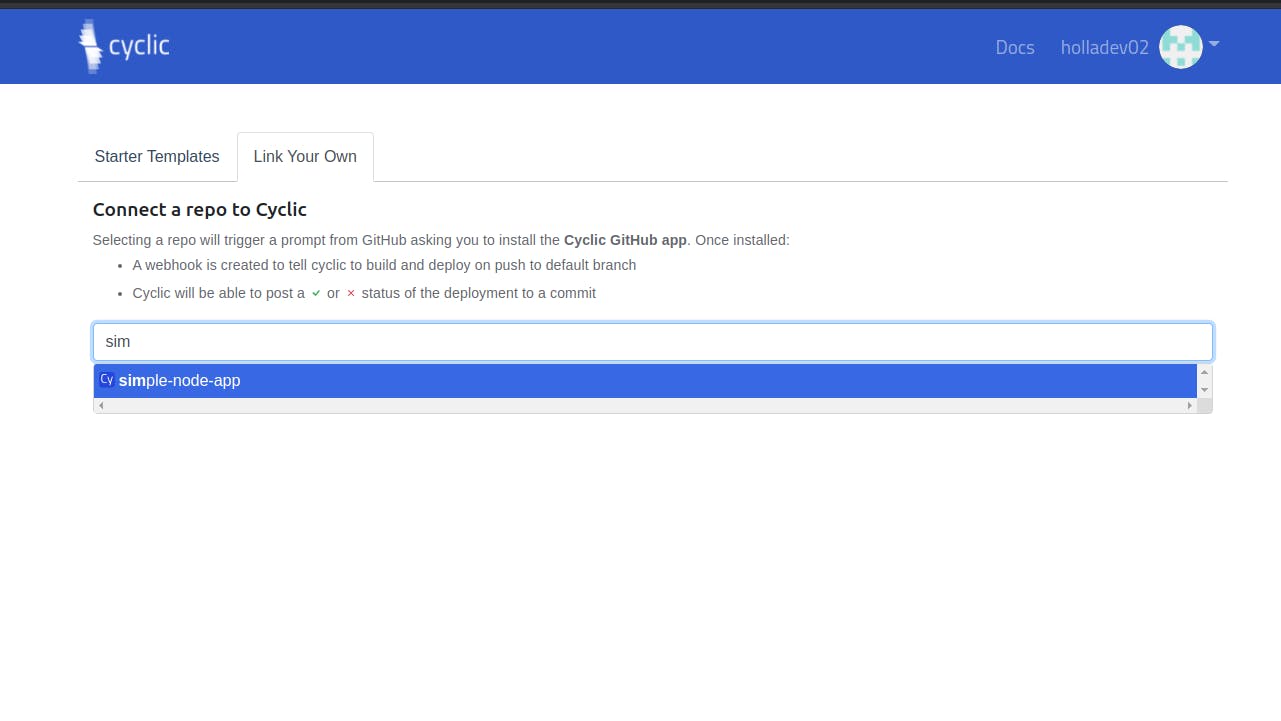 After the process is done you would be redirected to your webpage with a URL generated by cyclic.
In Conclusion
Cyclic is innovative in the CI/CD world. Automatically tracking the git version control on your project and deploying on merge commits allows the abstraction of a lot of tedious, error-prone configurations code by developers.
You can also check Cyclic documentation to get more insights.
